In this article, I explain how to configure a Hikvision NVR for cloud recording.
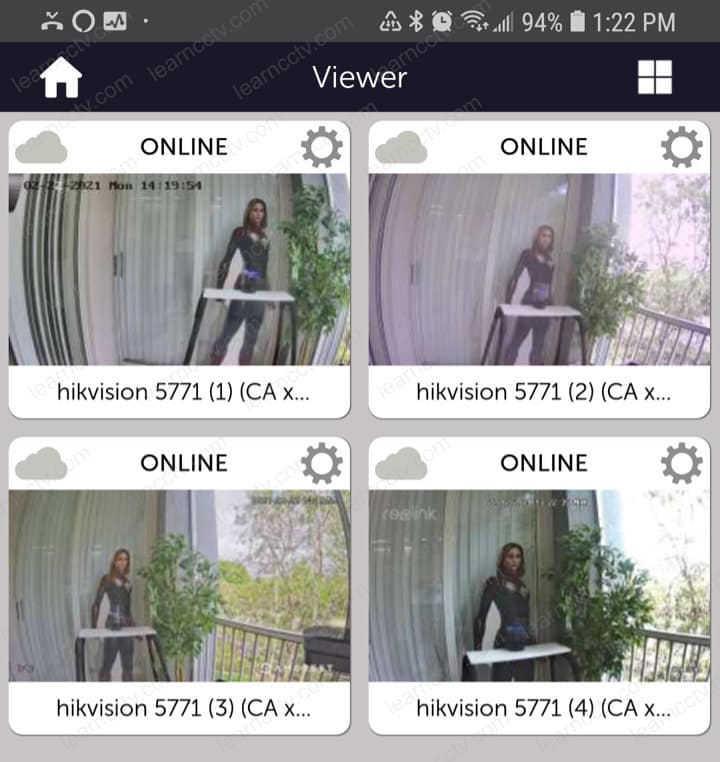
The picture below shows four IP cameras connected to a Hikvision DVR and are also being recorded in the Videoloft server on the Internet.
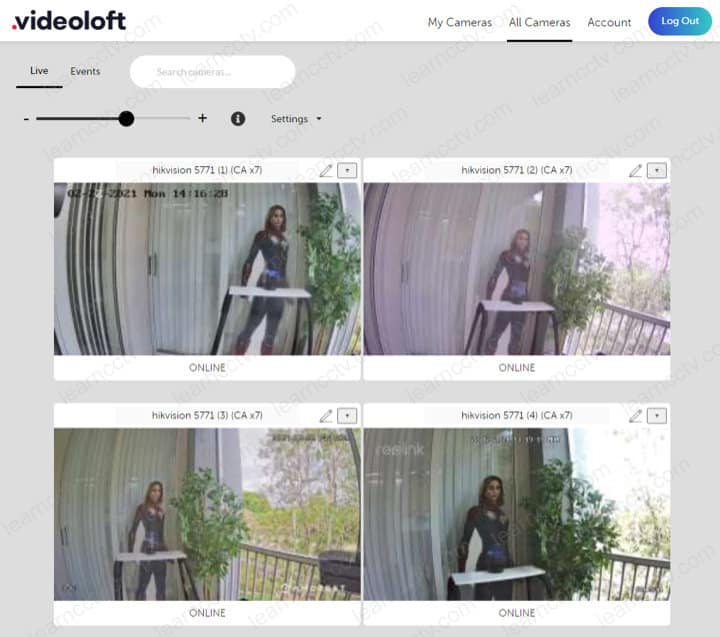
If you want to record the IP camera footage into a local recorder and have a backup on the Internet, keep reading; I will guide you to an easy way to accomplish that.
There are different ways of having a redundant surveillance camera system, and now you are about to see one of them that I've been testing for some time.
How to record Hikvision cameras in the cloud
OK, I'm talking about Hikvision cameras, but they are not the only ones you can record in the cloud; it's possible to use other brands as well.
It's possible to use a cloud platform such as Videoloft to record security cameras such as Amcrest, Axis, Dahua, Hikvision, and other models listed as compatible; however models as Reolink don't work directly.
But that's not a problem if you use an NVR as an intermediate device to record the video stream from the cameras and then connect to the Videoloft platform.
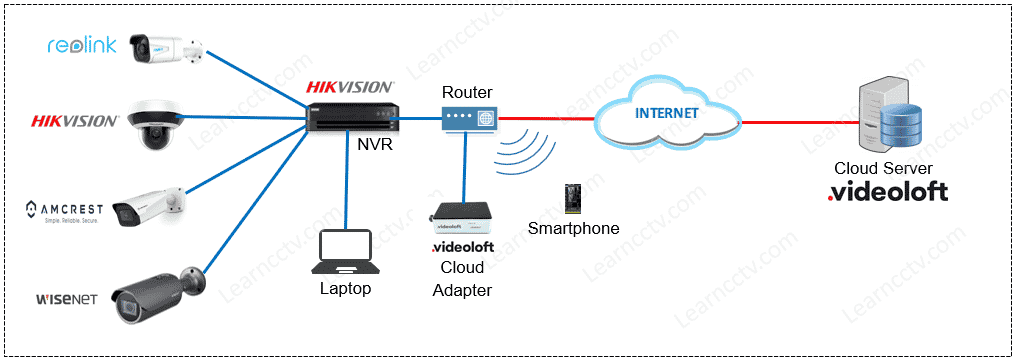
Diagram with Hikvision NVR and Videoloft cloud adapter (click to enlarge)
As you can see in the diagram, different cameras are connected to the NVR (Reolink, Hikvision, Amcrest, and Wisenet). The NVR connects to the Videoloft platform by using the Videoloft Cloud Adapter that is connected to the network.
The picture below shows the image of the cameras in the Hikvision NVR.
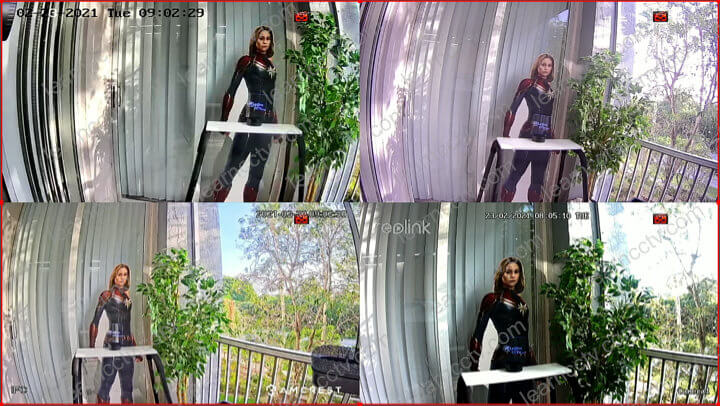
The Hikvision NVR and the cameras use the ONVIF protocol for communication.
Now that all the cameras are working in the NVR, it's time to use the Videoloft cloud adapter to set up the cloud recording; let's take a look at how to do that.
==> To learn more this platform, read the article: Videoloft Platform Review
How to use the Videoloft Cloud Adapter
The Videoloft Cloud Adapter is an intermediate device that grabs the IP camera's video streams from the Hikvision NVR and sends them to the cloud.
Connect the video adapter to the local network
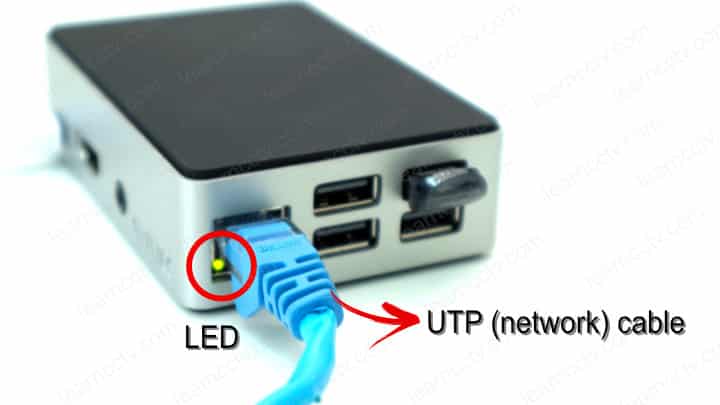
The picture below shows the device. As you can see, it has a port to connect to the power cable and another one to connect the network cable.
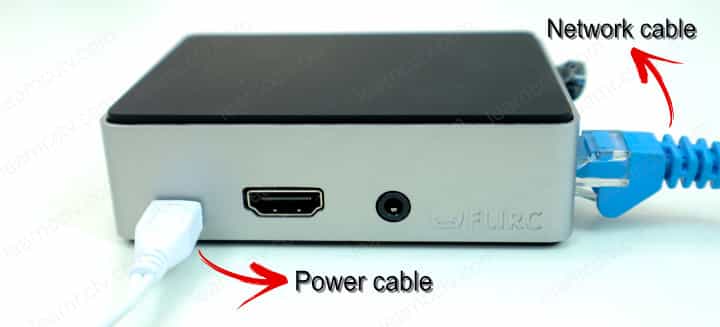
Take a look at the diagram again to see how the adapter is connected to the router.
As soon as you connect the cloud adapter to your network, it automatically gets an IP address from your router and looks for compatible cameras and recorders on your network; the next step is to use a smartphone for the configuration.
The cloud adapter is directly compatible with Hikvision cameras and recorders and is also compatible with professional IP cameras that use the ONVIF protocol.
Videocloud App set up
For this specific application, the idea is to find the Hikvision NVR in my local network, the process is straightforward, and it can be done via a smartphone.
Here's the step-by-step to set up the Hikvision NVR into the Videoloft platform.
- Visit the Videoloft Website and create an account;
- Order the Videoloft Cloud Adapter;
- Connect the Video cloud adapter to the local router and power it up;
- Make sure the network LED indicates a connection to the router;
- Download and install the Videoloft App on your smartphone;
- Open the Videoloft App and log in using your credentials;
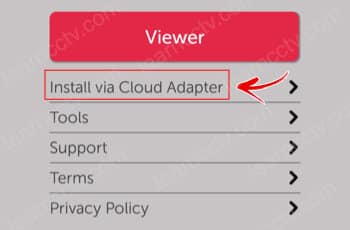
- Click "Install via Cloud Adapter";
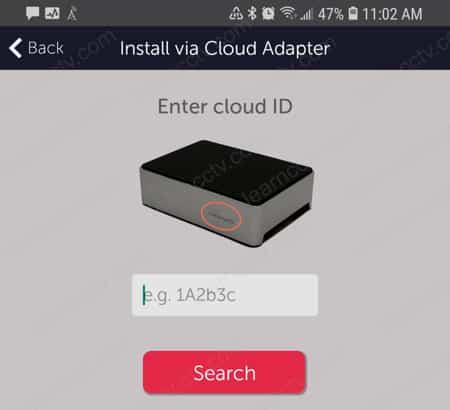
- Enter the Cloud ID to link the adapter;
- Click "Start Scan" and wait for the App to find the NVR;
- Toggle the button to add the NVR channels;
- Click "Done";
- Click "Install".
The pictures below show the process in detail.
- Connect the UTP (network) cable to your router and make sure the LED is ON.
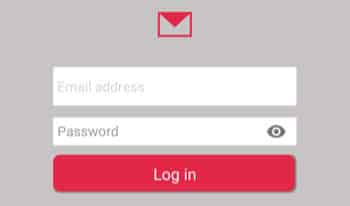
- Login using the Videoloft account credentials
- Click "Install via Cloud Adapter"
- Enter the cloud ID located in front of the device.
Make sure the adapter is linked to the App.
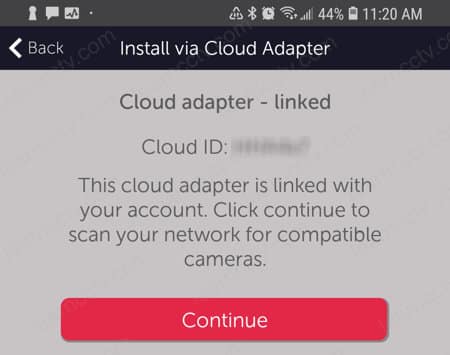
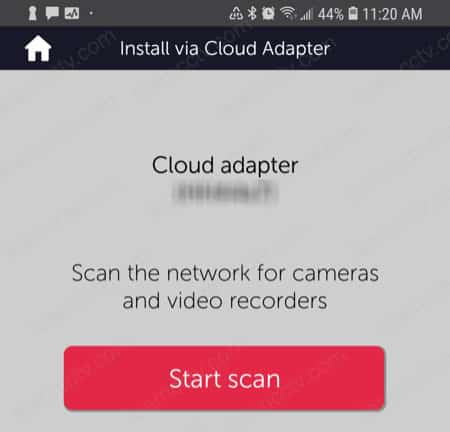
- Click "Start Scan" to look for the NVR in the local network.
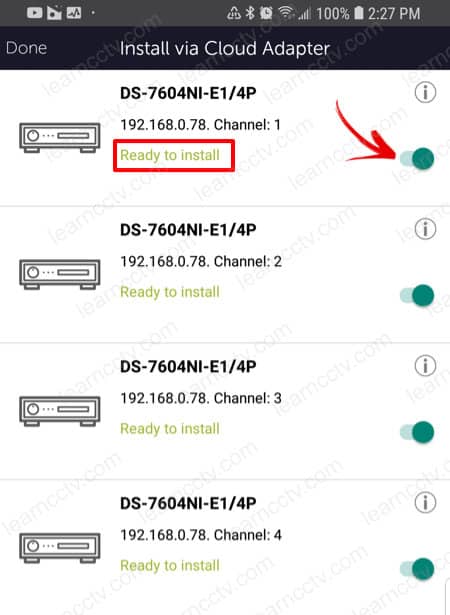
- Toggle the buttons of every channel you want to record in the cloud and make sure the message "Ready do Install" is displayed, then click "Done".
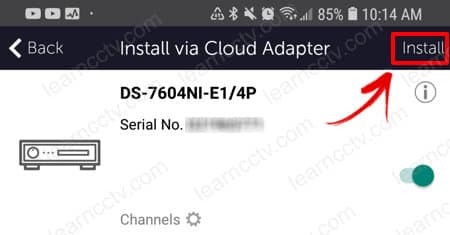
Click "Install" to add the NVR to the App.
And, it's done.
Now you can see the live video stream in the App.
Extra information
Make sure you have the bandwidth necessary to upload the video to the cloud.
You can check how much bandwith the system is using by checking the NVR Net Detect Interface under the System Maintenance Tab.
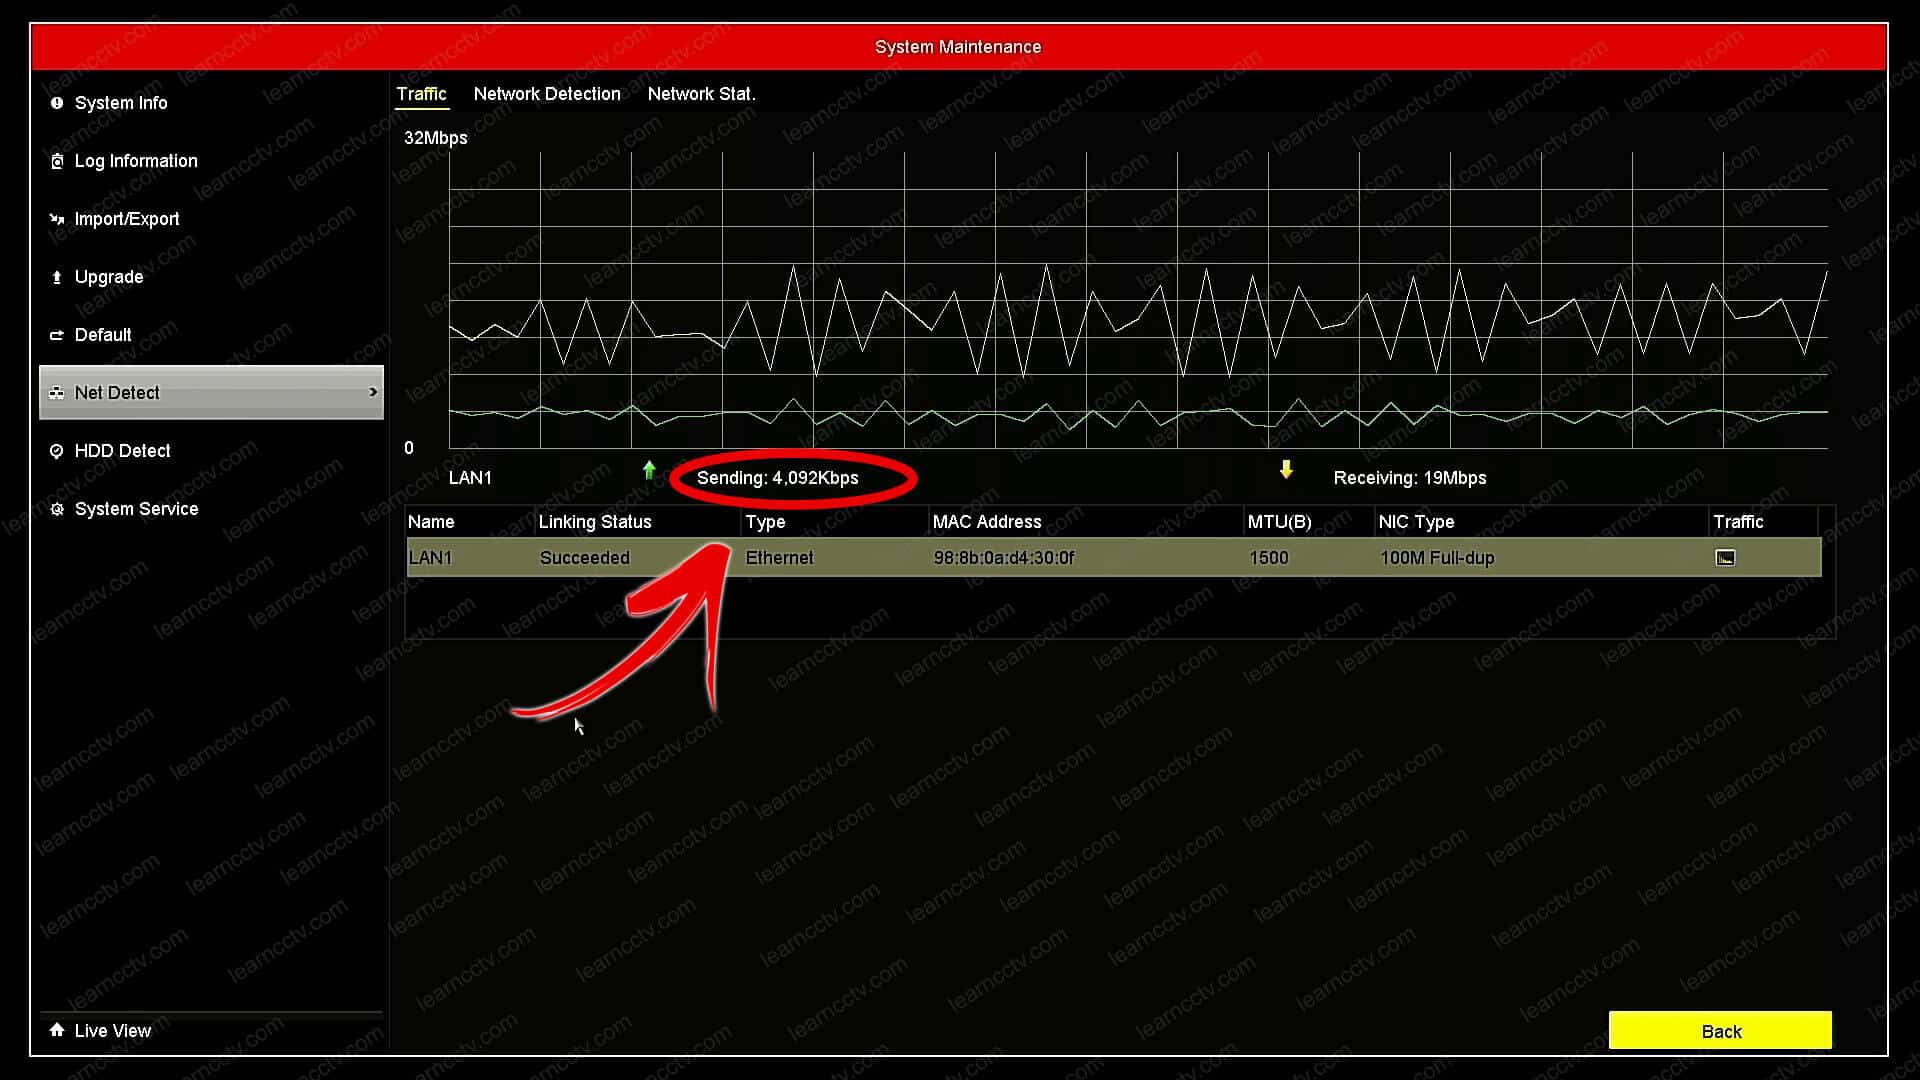
Hikvision NVR Bandwidth Usage (click to enlarge)
As you can see, the NVR is usin about 4Mbps (1 Mbps per camera)
Conclusion
Now you have the Hikvision NVR recording locally and remotely at the same time.
If something happens to your cameras or recorder, you will have the evidence safe and sound into the cloud.
If you want to try the Videoloft platform, please click the button below
Disclaimer
I'm not a a Videoloft employee, neither a company representative.
I received the Video cloud Adapter to evaluate and write a review about it, but I don't have any obligations to enforce the product advantages.
My opinion about the product/service quality is based on my tests and analysis of the features, and I'm just giving the final verdict accordingly.
I do receive a small affiliate commission when people buy sign in using the links available on this article, but there's no extra cost at all to the buyer.