I this article, I show you how to setup email notification on a Hikvision DVR.
The process also works with Hikvision NVRs and IP cameras.

Notifications are very useful to alert people when motion occurs, so the email notification is triggered when someone or something passes in front of the camera.
You can use your corporate email or free ones such as Gmail, Hotmail, etc.
I use a Gmail account as an example to explain the concept, but the setup is about the same for other emails, so I believe the article is useful to everybody.
Using Gmail for Hikvision email notification
Let's assume you have a Gmail account and want to set up your Hikvision DVR, NVR, or camera to send an email when motion detection is triggered.
You need to get some information about your account and input it on the device.
Here's what you need to set up your Hikvision device with a Gmail account.
- Create a Gmail account (or use an existent one);
- Gmail account username and password;
- Gmail SMTP Server address (URL)
- Gmail SMTP Server port number
- Email sender address
- Email receiver address
OK, you must have your own Gmail account, and the information about the username/password and the sender/receive emails you want to use.
For the Gmail SMTP Server Address, you can use smtp.gmail.com.
For the Gmail SMTP Server Port number, you can use 587.
Now that you have all the information you need to input into the DVR, let's dive into the device configuration, and later you need to do an extra step related to the Gmail account security. But let's take um step at a time, DVR set up first...
Hikvision DVR set up for email notification
Log into the Hikvison DVR via web browser and go to "Configuration >> Network >> Basic Settings" menu and make sure the information related to the network is correct. Double-check the IP address, subnet mask, gateway, and DNS.
See the picture below for more details.
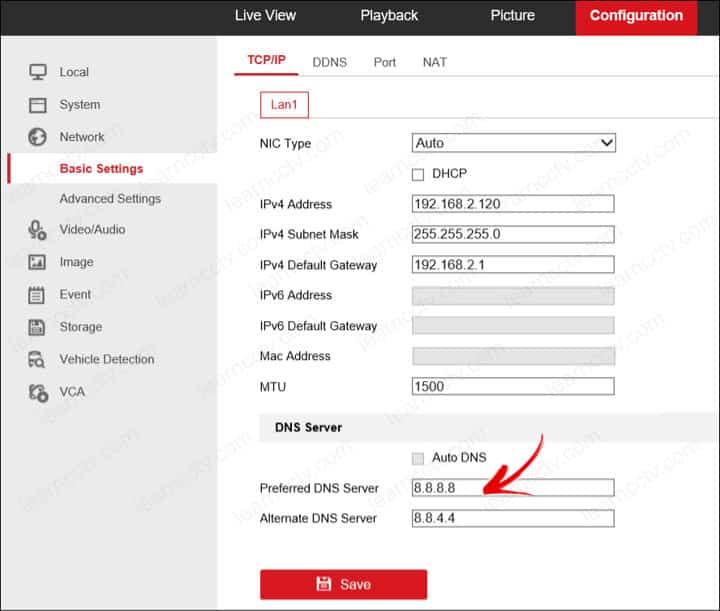
Take a look at the Preferred and Alternate DNS servers.
No matter what IP address you are using in your network, you can use the DNS servers described here (8.8.8.8 and 8.8.4.4) because they belong do Google and are very stable and reliable. So use them to guarantee the system works fast.
Now go to Network >> Advanced Settings >> Email.
Enter the information you have about the Gmail account.
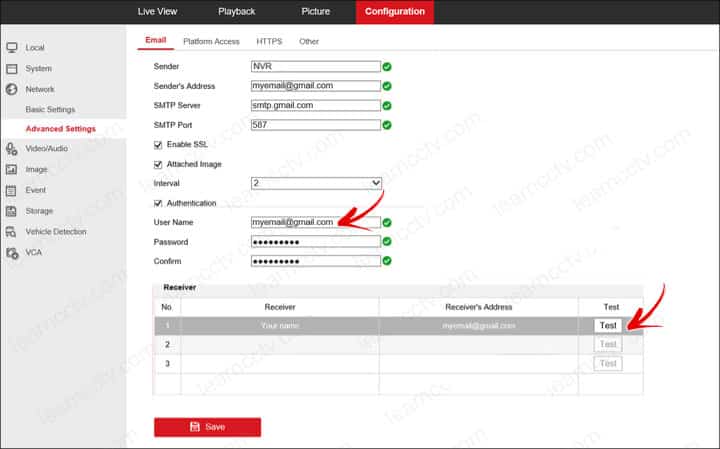
You can enter a Sender Name to identify whos is sending the email.
Fill the other information: Sender's address, SMTP server, and port number.
Make sure the box "Enable SSL" and "Attached Image" are checked and enter the username and password you use for your Gmail account.
You can enter the receiver name and email at the bottom of the screen and click the test button to make sure everything is working as expected.
Note: You probably will see an error message that says the test failed because there's an extra step you need to take related to the Gmail security, let's talk about that next...
Set up the Gmail account security
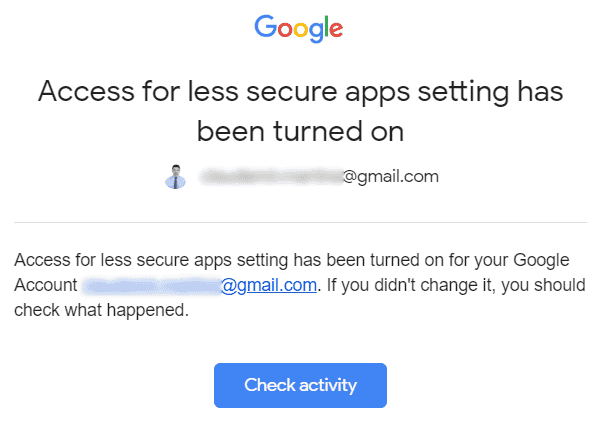
When you press the button to test the email set up, an email pops up on your inbox to alert you about a "Critical security alert" because somebody (the DVR) is trying to use your Gmail account, so you need to confirm that was you.

When you press the button to test the email set up, an email pops up on your inbox to alert you about a "Critical security alert" because somebody (the DVR) is trying to use your Gmail account, so you need to confirm that was you.
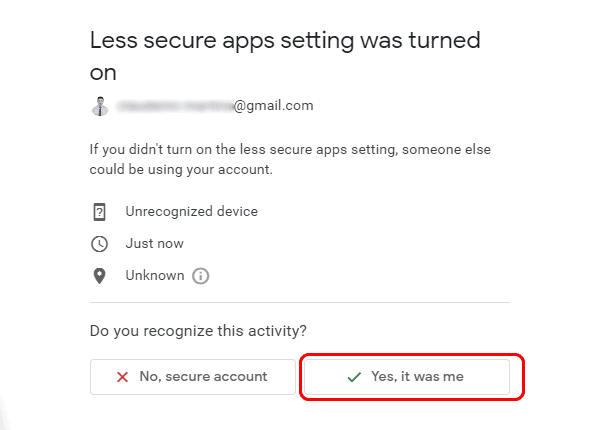
You need to click "Check activity" to tell Google the atempt is legit.
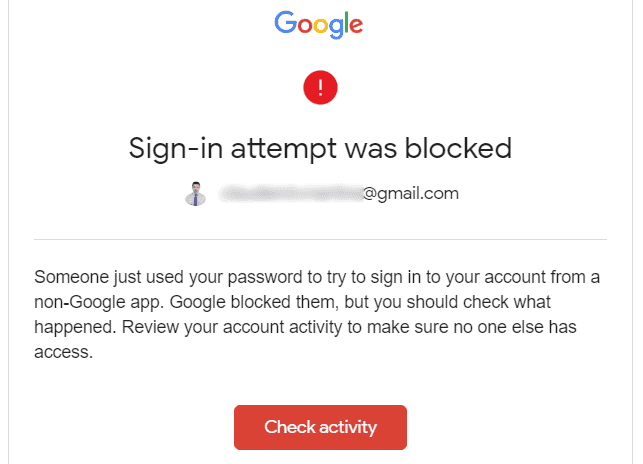
Since the DVR is not a Google app , it's necessary to set up your account and change the configuration settings accordingly.
Here's the step-by-step to change the Gmail security configuration.
1. Log in into your Gmail account and click "Manage Your Google Account";
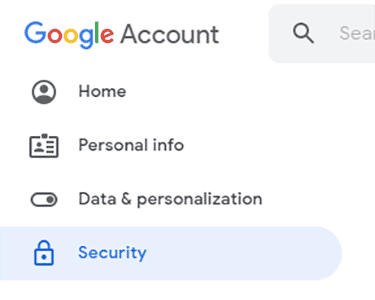
2. Click on "Security" to manage your configuration;
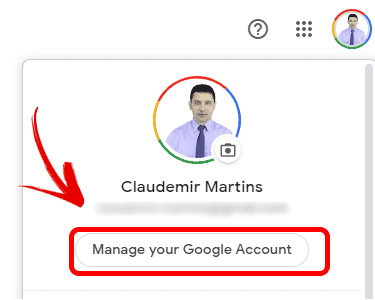
3. Turn on the "Less secure app access";

4. Check your e-mail to confirm the setup.
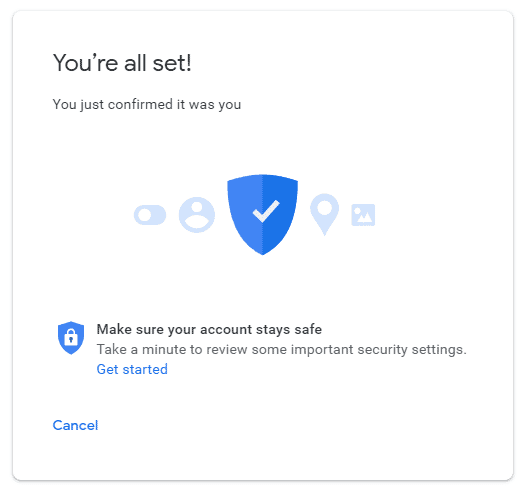
And it's done.
Now you can test if the DVR can send emails.
It should work if you followed every step correctly.
Related articles
Here are some related articles that can help you.
Conclusion
Now you know how to setup email notification on a Hikvision DVR.
I used these steps to set up my DVR and everything worked fine.
If you need extra help visit the Hikvision website.
I hope this article can help you; please share it with your friends.