In this article, I show the Reolink email setup. Step-by-step.
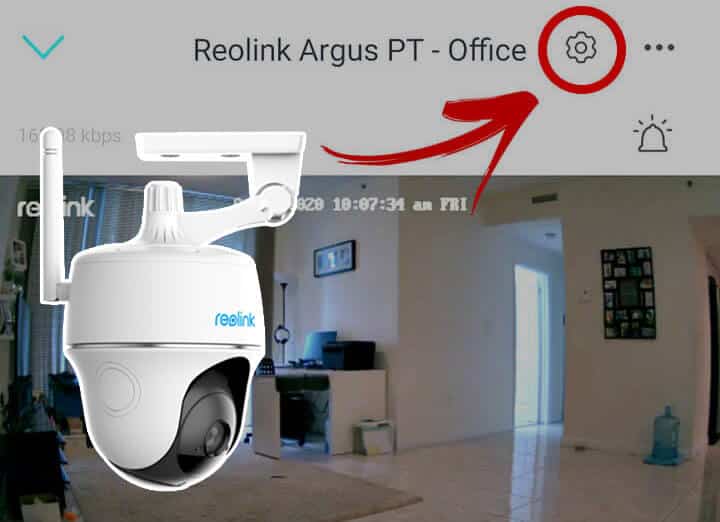
The Reolink cameras have a common configuration interface so the email setup is the same for different models. In this example, I'm using the Reolink Argus PT.
You can set up the email via Reolink App or Reolink Client using a computer.
Here you will learn how to use the App, so let's get started.
Reolink email setup via App
The steps vary a little bit depending on the camera model you are using.
I have the battery-powered Reolink Argus PT so the process should be the same if you have a similar model. Just use your email account for the configuration.
Here are the steps for the setup:
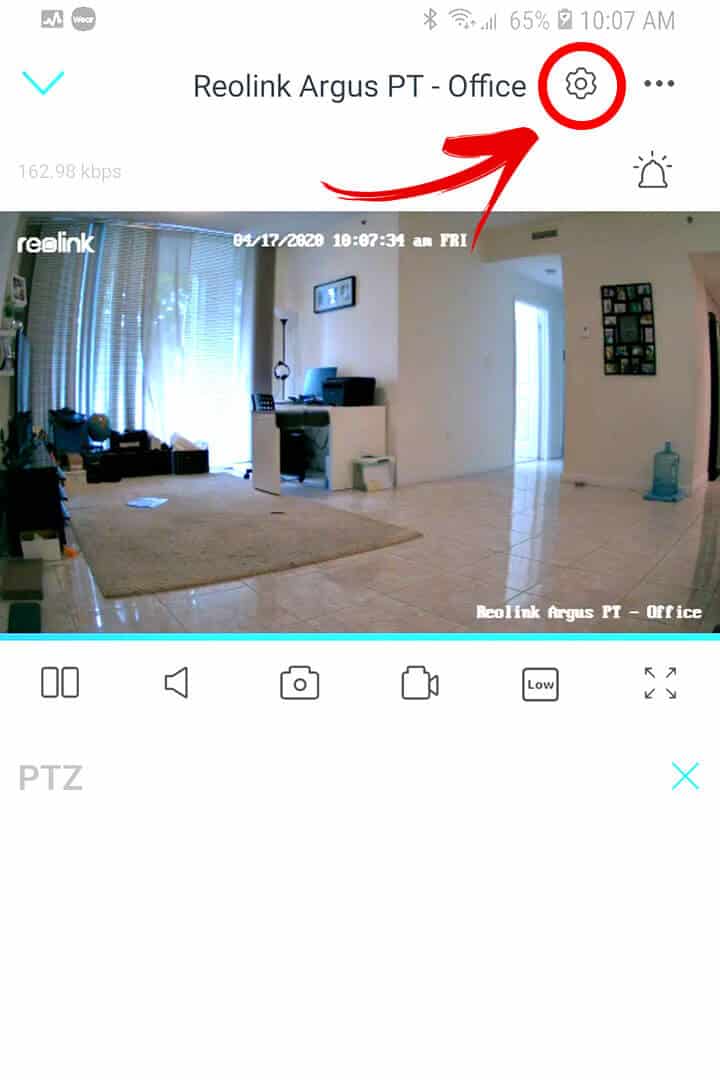
1. Log into the Reolink App;
2. Click the Gear icon at the top;
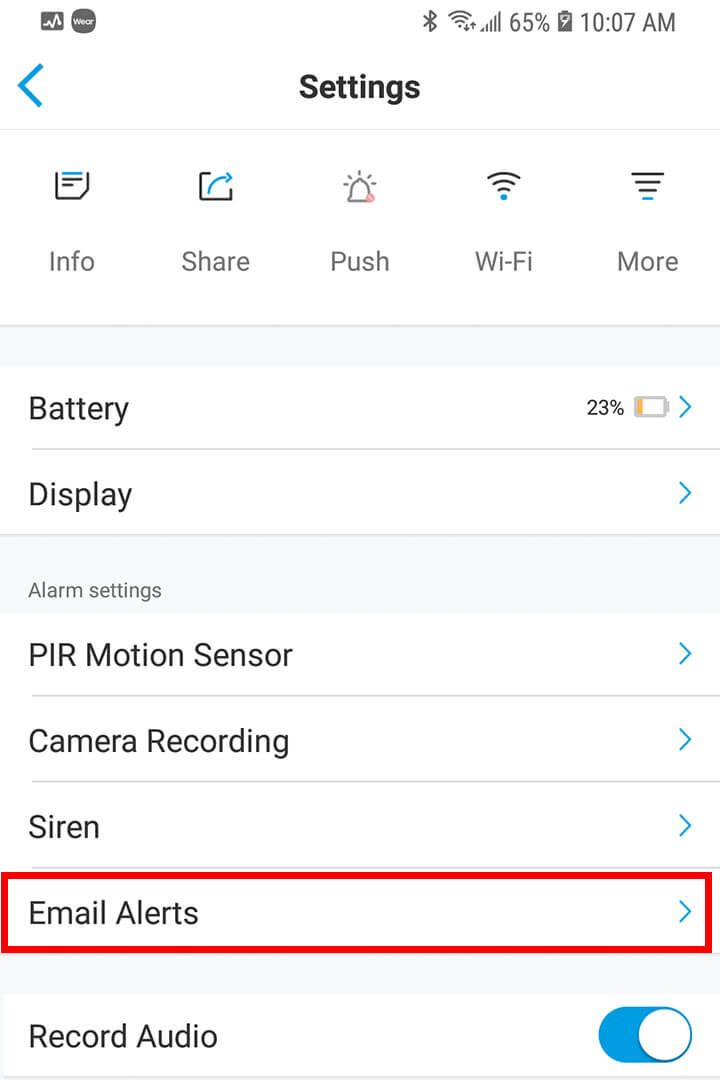
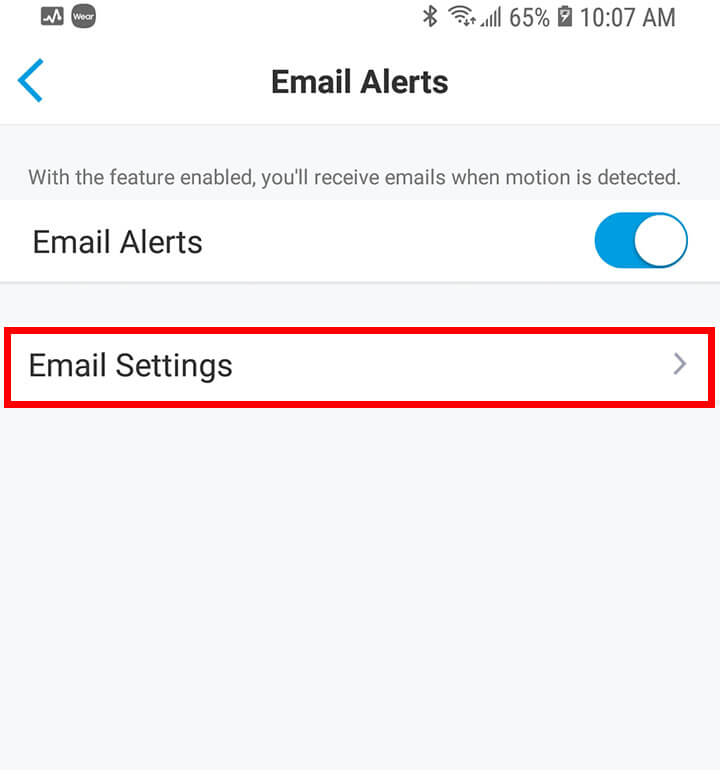
3. Go to Email Alerts >> E-mail Settings;
4. Input the email Sender and Recipient information;
5. Choose the type of email content (text or picture);
6. Click the test button and check your email inbox;
Reolink email settings (details)
To make things easier here are the pictures with the step-by-step setup.
Click the icon on the top
Click Email Alerts
Click Email Settings
Set up the Sender and Recipient
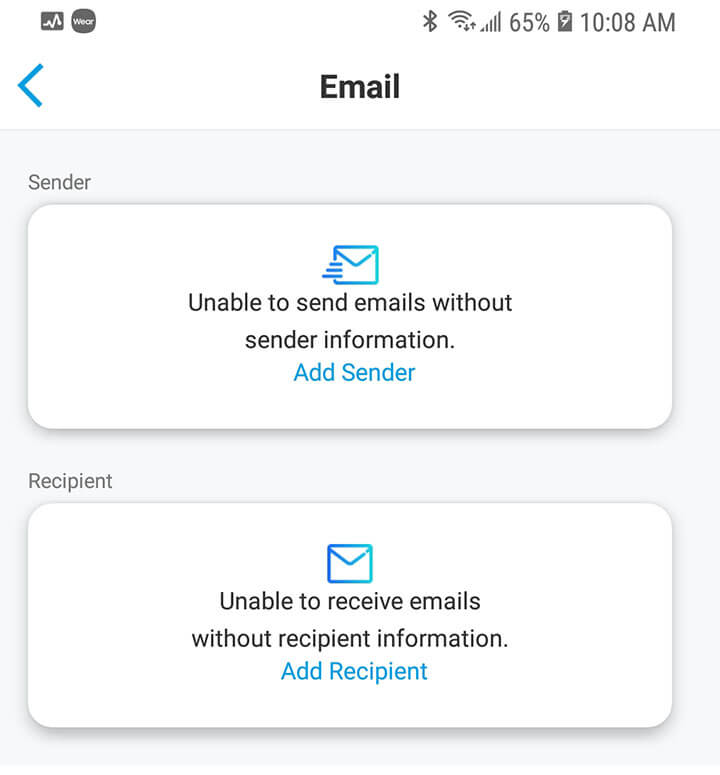
Select the Email Server and Sender
It's important to make sure you are using the correct SMTP server.
Don't worry, this is only the technical fancy name for the Email Server you use.
Just make sure to choose the right one and enter your login information...
Input the Sender Information
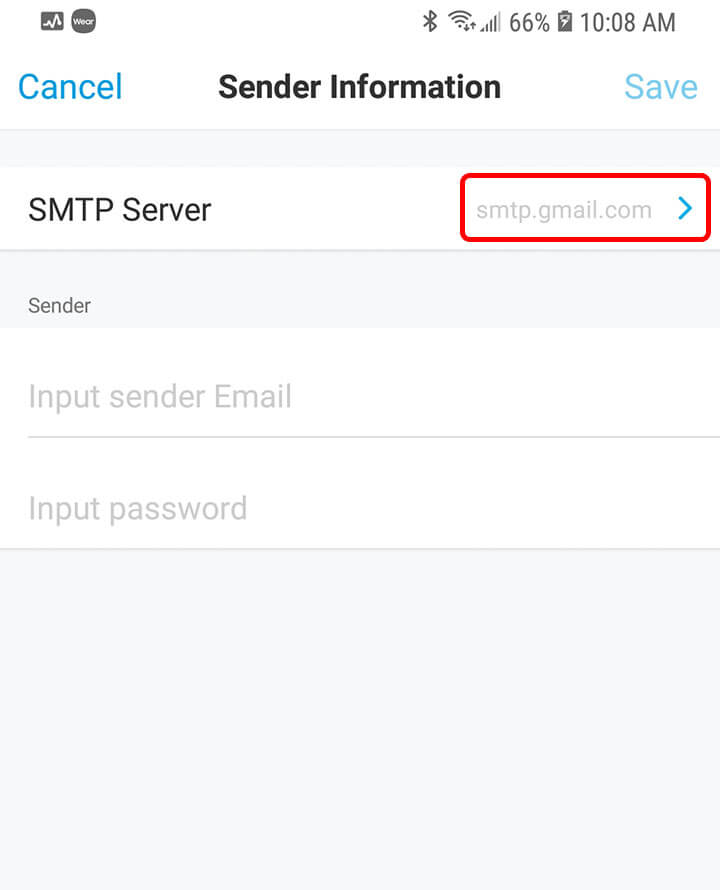
Choose the Email Server
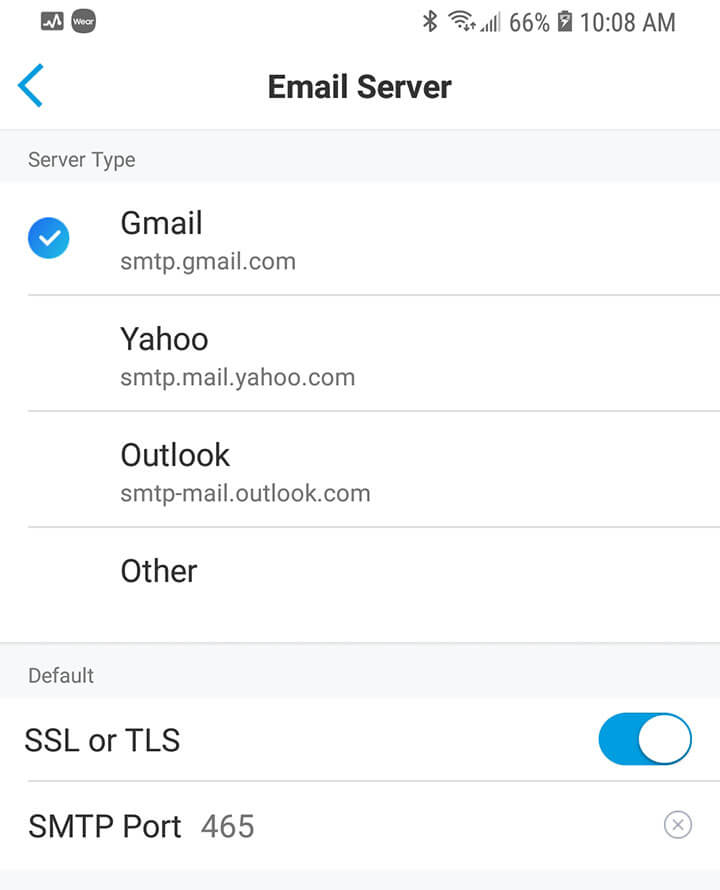
Usually is not necessary to change anything else. Just ignore the information about the encryption (SSL or TLS) and the port and leave the way it is.
Input the recipient information
It's possible to input up to 3 recipient emails so the camera can send alerts to multiple people a the same time.
Input up to 3 recipient emails
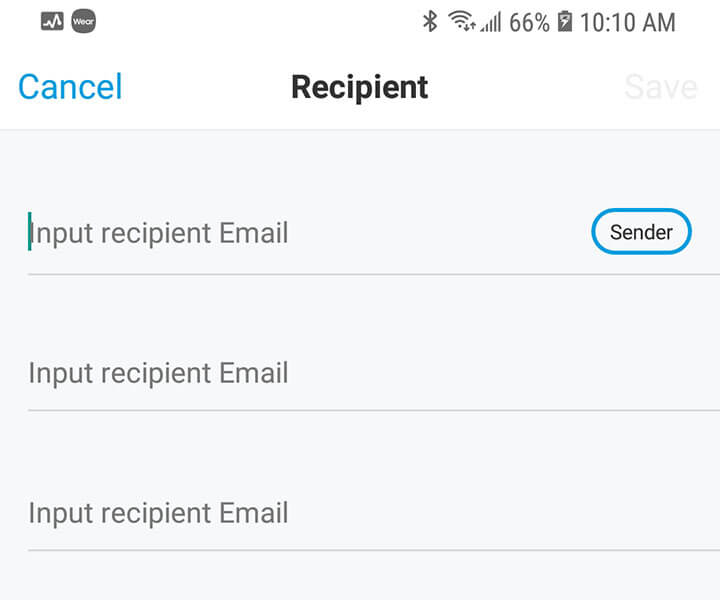
Make sure everything is correct
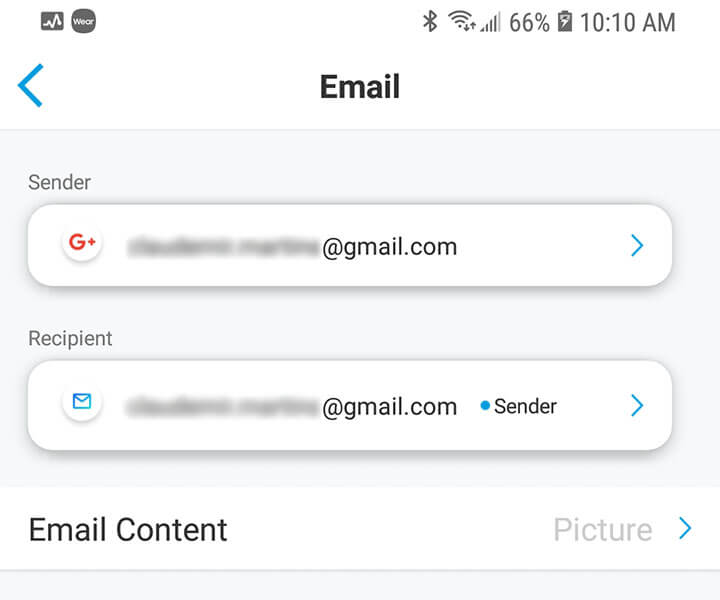
This step is very important. Just double-check to make sure the email is correct.
Email type and test
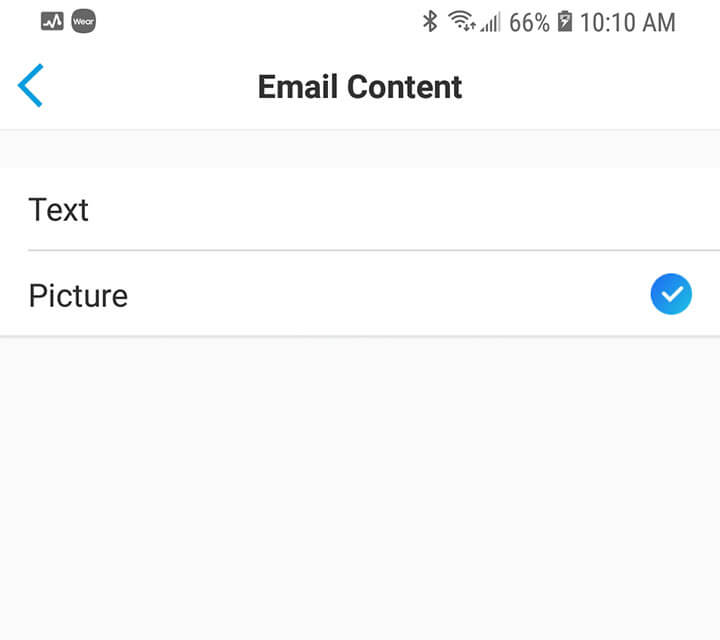
Now it's time to choose the type of email alert you want to get and test it out.
Just choose between text and picture and click the "Send a Test Email" button.
Choose the Email Content-Type
Click the button to test it out
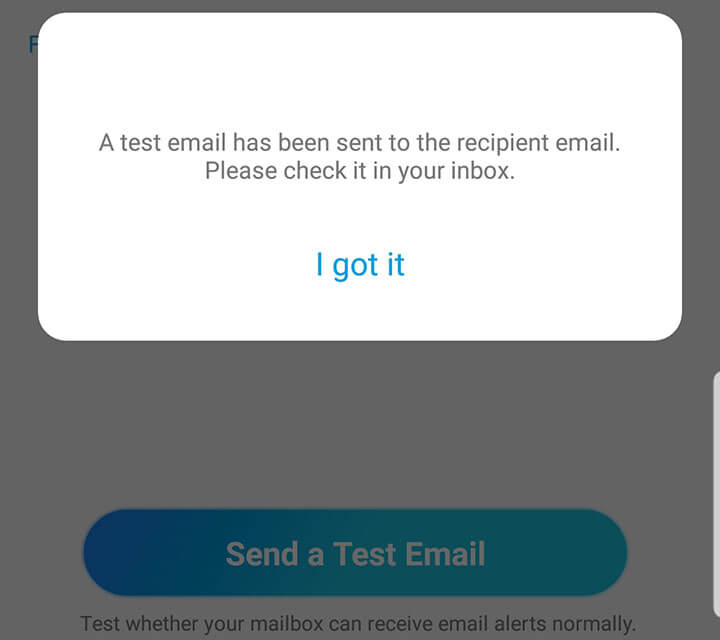
And it's done. If your setup is correct you must receive an email immediately.
During my tests, I got it in less than 2 minutes...

A few minutes later I noticed my Gmail inbox was full of alerts and I could see that everything was working fine. As you can see the emails come with the pictures.
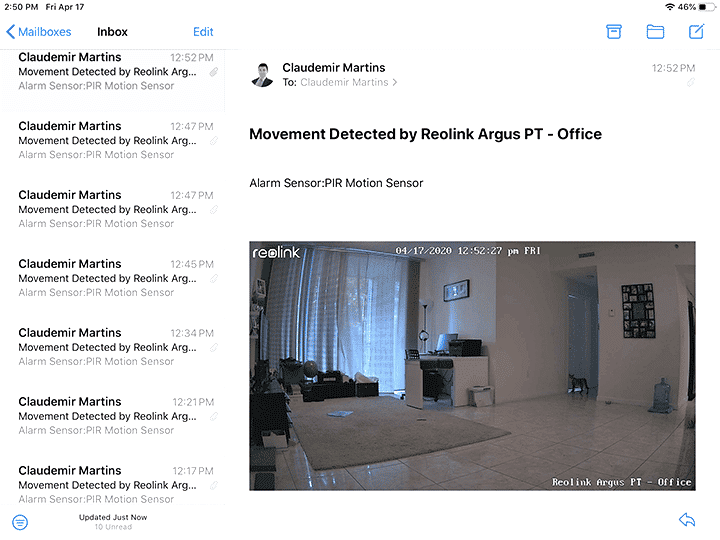
The camera sends the alert based on the motion that is detected by the sensor.
Troubleshooting
Sometimes things just don't work as expected and you need to figure out what is wrong. But don't worry usually it's not so hard to solve the problem.
If you can't get an email alert from the camera just check the following:
- Did you turn on the email alert feature?
- Were the email sender and recipient input correctly?
- Is the motion sensor (PIR) enabled?
- Are you using the correct email server?
- Did you try to move in front of the camera to trigger the alert?
Make sure you are using the correct configuration for your email server and just in case you are using the Gmail account (just like myself) make sure you changed the security configuration, read the article: Reolink Gmail not working.