Hik-ProConnect is a powerful and user-friendly surveillance platform that allows you to easily manage and monitor your security cameras and devices. In this article, we will be learning how to add devices to Hik-Pro Connect.
One of the key features of Hik-ProConnect is the ability to add and connect new devices to your network. This can be done through the web interface or through the Hik-ProConnect mobile app.
Hikvision is going to stop all access to their HiDDNS and iVMS-4500 services. Thus, all installers who used said services will now have to add devices through the Hik-ProConnect.
Switching over to the Hik-ProConnect services will allow remote operation, management, and upkeep maintenance all in one place.
This guide will walk you through the steps for adding new devices to your Hik-ProConnect system, whether they are cameras, recorders, or other types of security equipment.
Steps To Add Devices To Hik-Pro Connect
By following the steps below, you can easily expand and enhance your surveillance system to better protect your home or business. The instructions apply to both OEM and Logo versions of Hikvision devices.
Downloading The App
To get started, you will first need to download the software. You can do so through the Hikvision Application Store. Nevertheless, there is another way to go about this.
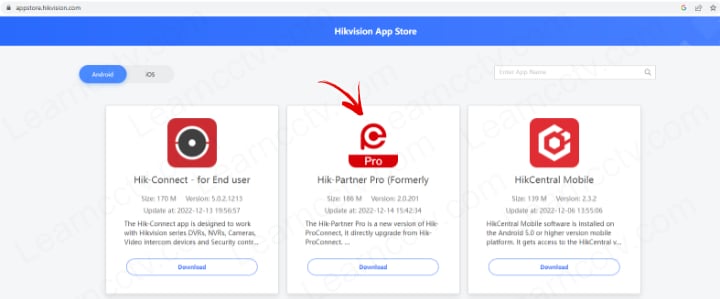
Through the Hik-ProConnect Portal, you can gain access to the app. You will need to be registered or create an account. In it, you can add your devices and personal information.
Ways to add devices to Hik-Pro Connect
You can add your devices to the app in two distinct ways. Let’s take a look at both below.
P2P
To add devices to Hik-Pro Connect using P2P, you will need to update your device. Make sure you run the latest Hikvision update version before proceeding.
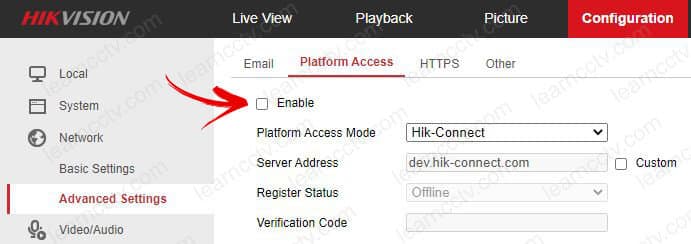
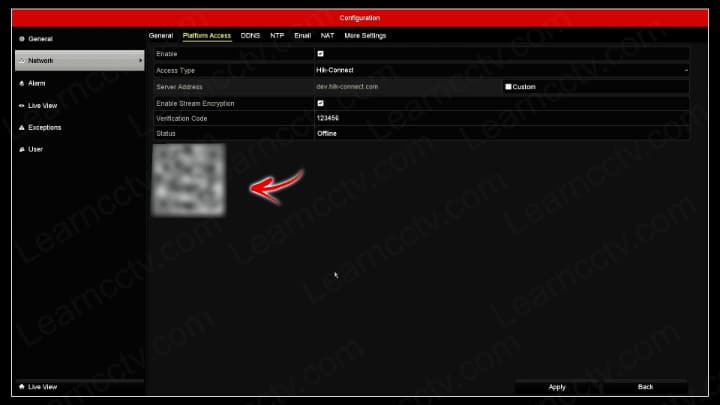
Start by enabling the “Hik-Connect function” by entering the “Configuration” menu. There you should select “Network,” then “Advanced Settings,” followed by “Platform Access.”
Once “Platform Access” mode is enabled, click on “Hik-Connect” and then choose your verification code. If you do not see “Hik-Connect” as an option, you should see “Cloud P2P.” It may differ between devices.
If your device does not allow you to choose a verification code, you can find it on the device’s label. However, if it is not there, there is a default verification code, which is “ABCDEF.”
If the default code does not work for you, contact Hikvision customer service for technical support. After inputting the code, click on the “Site” icon at the bottom of the screen and then on the “+” sign at the top.
On the following page, you should see a button labeled “Add Device” at the bottom of the screen. Click on it.

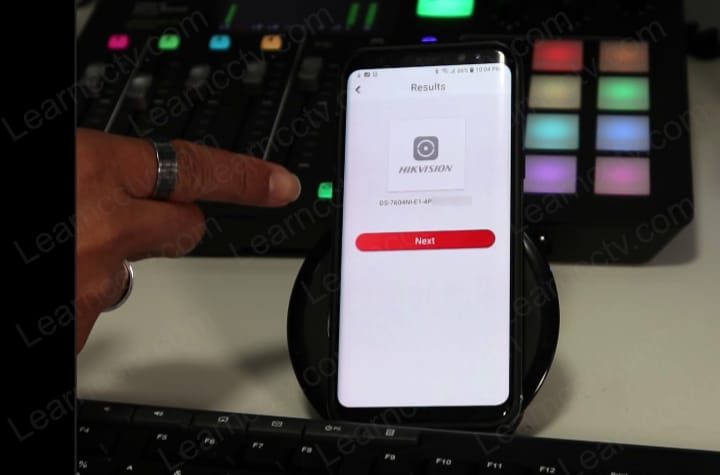
To add the device, input its serial number manually, or use the phone’s camera to scan your device’s QR code. Both of the above information should be found on your device’s label.
You will be asked to input the verification code you chose previously. Type it in and select “Add.” Then click on “Finish.”
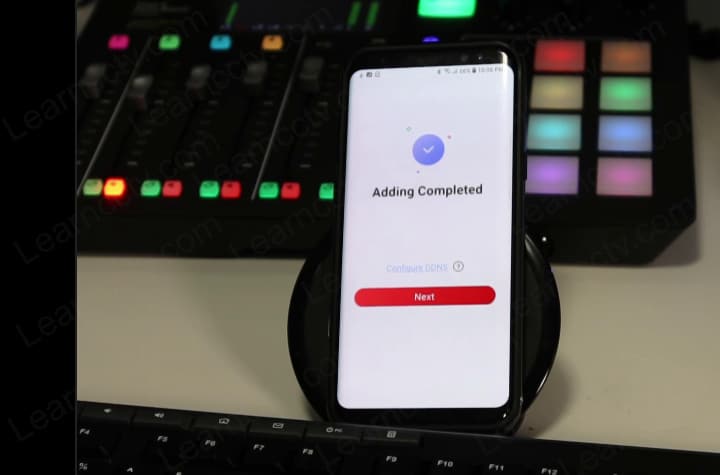
Enabling DDNS On The Hik-Connect App
After adding the device to the Hik-ProConnect app, you might run into an issue. The app might show the device as incompatible or that its remote configuration cannot be applied.
Nevertheless, this can be easily fixed. To fix it, you need to enable the DDNS function inside the app. Start by selecting the device giving you issues and clicking on “DDNS Settings.”
Once you are on the page, you will need to type in the external port and the device’s credentials, username, and password.
Now select “Save” to apply your configurations. After you enable DDNS, your device should work just fine. It will connect through DDNS when any function such as playback, live view, remote configuration, and other functions are enabled.
IP/ Domain
The second way to add devices to Hik-Pro Connect is through the domain name or IP address. This method is for devices that don’t support the Hik-ProConnect service.
To get started, open “Site” and then click on “Add Device.” Now select “IP/Domain” and add your device manually by inputting its IP address, credentials (username and password), and port number.
You’re done! Your device should show up and work normally. Remember that for the process to work, you need to have the device and your phone connected to the same local network.
Final Thoughts
In conclusion, adding new devices to your Hik-ProConnect system is a straightforward process that can be completed through the web interface or mobile app.
Furthermore, to add a new device, you will need to know its IP address, username, and password, which can typically be found in the device’s manual or on a label on the device itself.
Once you have entered this information, you can use the device discovery feature to scan for and add the device to your Hik-ProConnect system. From there, you can configure the device’s settings and add it to your surveillance network. Overall, these simple steps allow you to expand and enhance your surveillance system to protect your home or business!