This article explains how to add an IP camera to a Zosi NVR.
The picture below shows 4 IP cameras connected to the NVR.
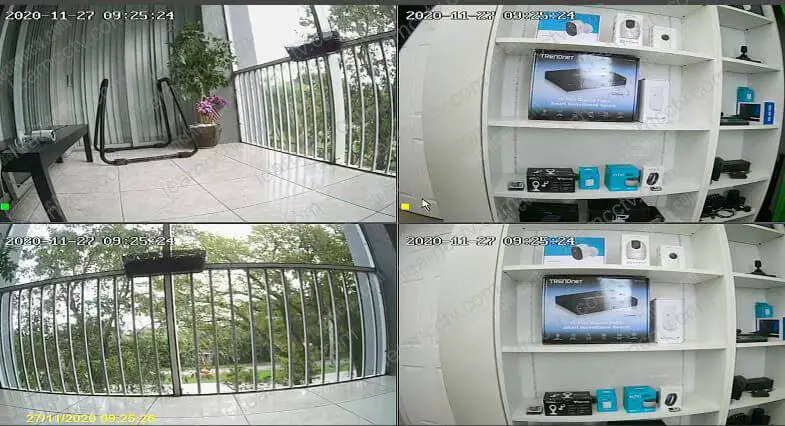
The process is straightforward; you can use the IPC Channel menu to do that.
You can have your IP cameras up and running in less than 5 minutes.
Connect the cables to the NVR
To have your IP cameras working in a Zosi NVR, the first thing you need to do is connect the UTP (network) cables that come in the Kit to the NVR PoE Ports.
The following picture shows the PoE ports at the back of the NVR.
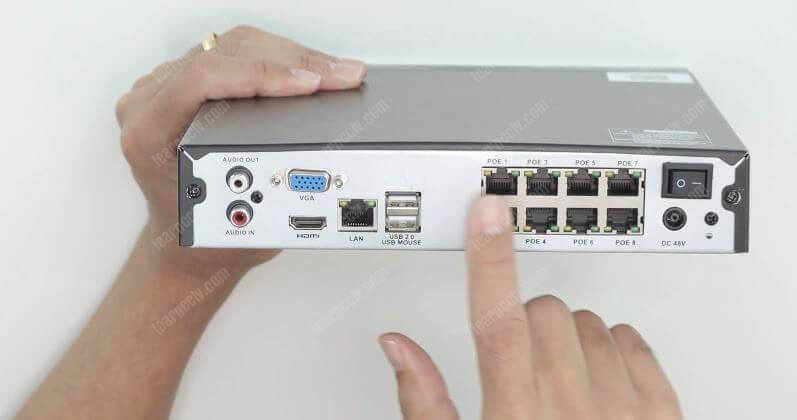
Once you've done that, you can just plug the power supply, a mouse, and a monitor to the NVR and use the IPC channel menu to search and add the IP cameras.
How to use the IPC channel to add cameras
Right-click the mouse and select "IPC Channel Config" on the floating menu.
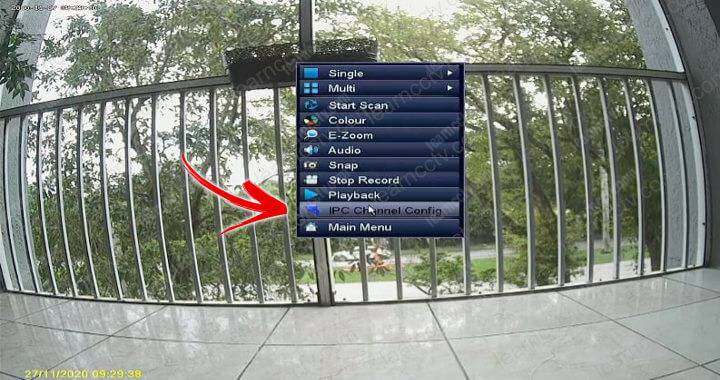
The IPC channel menu comes up.
On the right side, there's an empty area where the IP cameras are going to show up as soon as you click the search button and wait for the NVR to look for them.
The NVR takes some seconds to look for the camera that is connected to its PoE ports. Just wait for this process to finish.
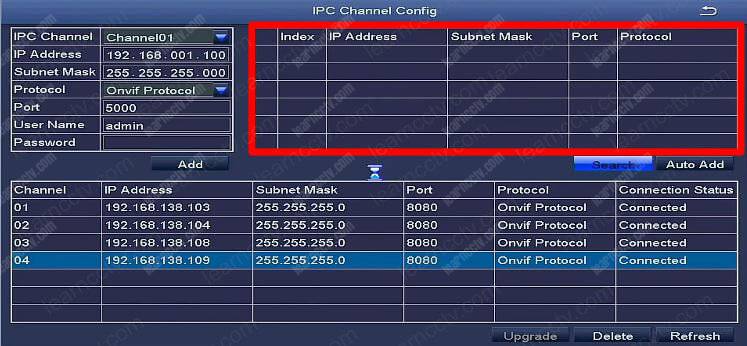
As soon as the NVR finds the IP cameras, you just need to select the one you want to add, input the username and password (default admin/admin), and click "Add".
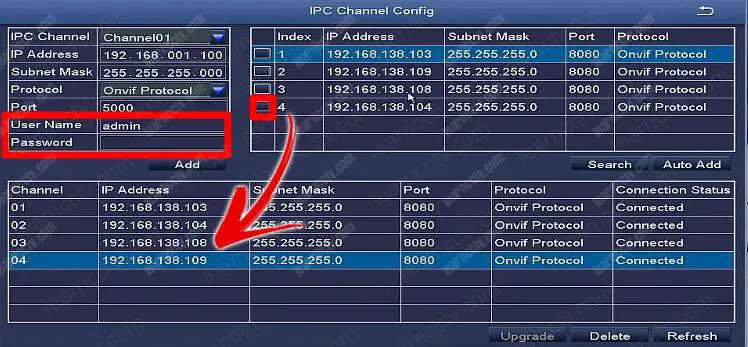
As you can see in the picture, camera number 4 was added to the NVR.
And it's done.
Now, you just need to come back to the main screen to see the camera.
Video: How to add IP camera do Zosi NVR
Here's a quick video that shows the entire process.
( If you are in a hurry, fast forward to 5:20m )
[This video is part of the Security Camera Video Course ]
I hope this article can help you; please share it with your friends.