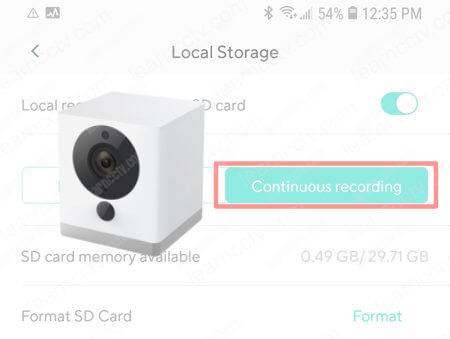
If you have an especial situation that event recording is not the best option, you can learn how to set up the Wyze Cam to record continuously.
The setup is very simple and allows you to have the footage recorded 24/7 on a micro SD card which you can remove and playback on your computer.
Let's see how to do that...
Pick the correct micro SD card
Before setting up your Wyze cam to record continuously it's necessary to make sure you are using the correct micro SD card. This step is very important to guarantee you won't miss any video because of a bad card.
The Wyze cam works with micro SD cards with a capacity of up to 32GB but that's not all, you also need to make sure the card is fast enough to handle the data that comes from the camera, so use a class 10 micro SD card.
To learn more read the article "Wyze Cam V2 SD card size and Type"
Turn off the camera and insert the micro SD card in the slot.

Now you are ready to start the recording set up.
Pick the correct micro SD card
Get your mobile phone open the Wyze App and follow the steps below.
- Click the "gear" icon on the top of the screen
- Click on "Advanced Settings"
- Click on "Local Storage"
- Toggle the button for local recording
- Select the option "Continuous Recording"
See the pictures below for details...
If this is the first set up or you don't have any important data in the micro SD card it's recommended to format it. Just click the format button and wait for 1 minute.
As you can see, this setup is very simple and now your camera is recording.
Conclusion
Set up your Wyze Cam to record continuously is something you can do in less than 5 minutes. As long as you have a micro SD card that can handle the data that comes from the camera the footage will be stored for later playback.
I hope this article can help you, please share it with your friends.
