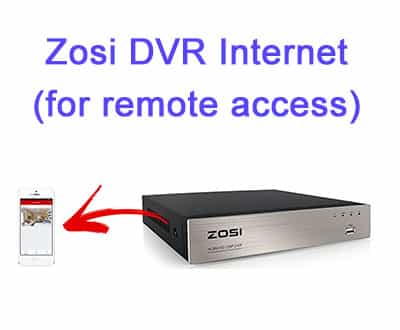
In this article I will teach you to setup the Zosi DVR Internet connection so you can have remote access to your cameras using a mobile phone.

The process is very simple, you just need to configure the DVR IP address along with its network parameters and setup the Zosi View Mobile App.
Zosi DVR network setup
The first step is to setup the DVR network. The Zosi DVR either needs to automatically get an IP address from your local router or you can manually input such information.
The DVR IP address must be in the same IP address range of your computer, but don't worry because your router can automatically give your DVR the correct one if you use the DHCP (Dynamic Host Configuration Protocol) feature.
As an example, if your network has the IP range 192.168.2.x (where X is a number between 1 and 254) the Zosi DVR can get an IP such as the 192.168.2.47.
Step-by-step network setup
Just follow the step-by-step process to setup the Zosi DVR network:
1. Login into the DVR using the admin credentials;
2. In the Setup menu, click the Network icon;
3. Check the box "Obtain an IP Address Automatically" and click "Test";
4. Click "Apply" and "Exit" to return to the previous menu;
5. Click the "Basic" icon;
6. Click the "Network" icon;
7. Make sure the Cloud Server Status is "Connected";
As you can see in the above picture the Zosi DVR has all the network parameters correctly configured. In this example, the IP is 192.168.2.47, the Gateway and the Preferred DNS is 192.168.1.1. Keep in mind that your configuration might be different according to your network IP range given by the router.
The next step is to configure the Mobile App (Zosi View).
Zosi View Mobile App Installation
To be able to remotely view your cameras you need to install the Zosi View Mobile App or the computer software ithink PC client available at the Zosi Website.
Your Zosi DVR will basically send the video streaming to the Internet using the cloud service, that's why you need to make sure everything is working as described in step 7 above (please don't skip that part).
To install the Zosi View mobile App, just follow the instructions below:
1. Download and install the Zosi View Mobile App for IOS or Android;
2. Click "Accept" to allow the App to have access to the camera;
3. Click "Open" to bring the Zosi View App to live;
4. Create a user ID, a password and input your email ;
5. Log in into the App with the credentials you just created ;
Make sure your mobile is connected to the Internet for the login process.
Next step is to add the DVR to the Zosi View App.
Zosi View Mobile App Setup
Now it's time to add your DVR to the App, you can either scan a QR code available at the DVR label or input the number manually.
Follow the steps to add the Zosi DVR to the App:
1. Open the App, click on "Device Manager" and on the icon at the top right;
2. Click the "+" icon to add a new device;
3. Enter a name for the DVR and click the "scan icon";
4. Point the mobile's camera to the DVR's QR Code;
5. Enter the admin password (the same used in the Zosi DVR);
Now, the Zosi DVR is ready to show the live cameras.
View the Zosi DVR cameras
Just click the Live Preview and choose the device (DVR).
And that's all. Now you have your Zosi DVR streaming live.
Most common problems
If you follow the instructions for the Zosi DVR Internet connection setup, chances are everything is working fine. But just in case you have some problem and can't make it work, please check the following:
Is your Internet up and running ?
Sometimes you can't get your DVR to work remotely just because the Internet is not working. Connect your computer or laptop to the same router the DVR is connected to make sure the Internet is running.
Does the Zosi DVR have an IP address?
Make sure the DVR got an IP from the router as shown in the "Step-by-step network setup " step 7. If the DVR can't get an IP from the router, chances are the router does not have the automatic IP settings also known as DHCP (Dynamic Host Configuration Protocol) enabled.
You can either check your router and enable such feature or give the DVR a static IP address. Just go to the DVRs Network Menu to assign an IP that is inside the range of your network (eg. computer 192.168.2.1; DVR 192.168.2.47).
You can just copy the other parameters such as gateway and DNS from your computer's configuration.
Is there a firewall configured on your router?
Sometimes a firewall in your Internet router can block some traffic, just make sure your router is not preventing the DVR to send traffic to the Internet.
The username and password is incorrect
Make sure you are using the correct username and password for the App, this usually causes some login problems. Read the article: Zosi invalid password error for more details on how to fix this issue.
You lost the DVR admin password
If you just lost the admin password, you need to reset the DVR to create a new one, just read the article: Zosi DVR password reset to learn how to do it.
Final thoughts
The DVR network setup is not that hard if you just following the instructions in this article, however, sometimes people are interested in learning more to become a CCTV professional installer or designer. If that's your case just take a look at the Ultimate Security Camera Guide Collection, just click the links below:
Please share this information with your friends...
