Want to know how to record Hikvision IP camera to One Drive?
In this article, I show the step-by-step to accomplish this task.
It's possible to upload the footage from your DVR, NVR, or IP camera to the cloud and keep it safe there for as long as you want; it all depends on how much space you are allowed to use on your One Drive account.
Let's see how it works.
How to record Hikvision cameras to One Drive
The first step to record your Hikvision camera or DVR to One Drive is to enable this feature (available only in some models).
Here are the step-by-step to enable the Hikvision One Drive recording.
- Open a web browser and log in to the camera or recorder;
- Open Configuration > Storage > Storage Management > Cloud storage;
- Click the checkbox to enable the feature;
- Click the "Get" button';
- Sign-in to your One Drive account;
- Copy and paste the authorization code;
- Click the checkbox to enable the "Event Upload";
- Configure the Schedule Settings and choose the stream;
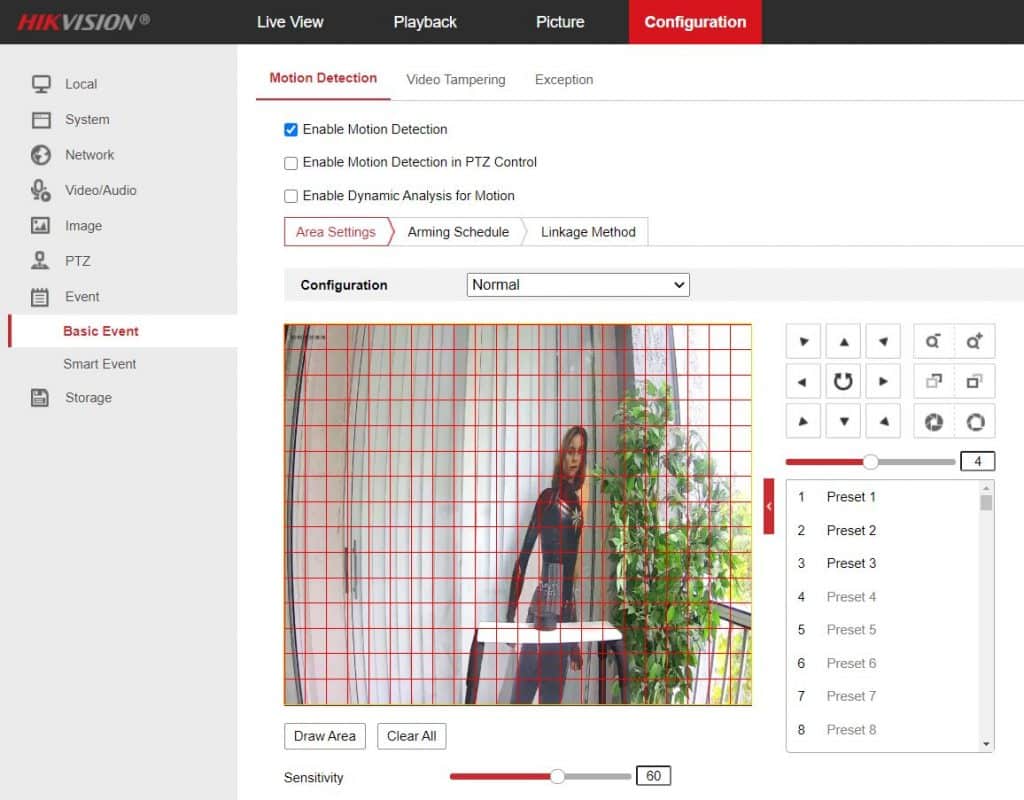
- Enable the motion detection feature;
- Link the event to "Upload Pictures to Cloud".
The pictures below illustrate the process.
Login to the device.

Enable the Cloud Storage and click the "Get" button.
Copy and paste the "Autorization Code"
Enable the "Event Upload"
Configure the device schedule.
Select the stream type.
Enable the motion detection feature.
Enable the feature to uplolad the picture to the cloud
And it's done.
Now your Hikvision device can upload a backup to One Drive.
I hope this article can help you; please share it with your friends.
