If you are trying to configure the events on your Hikvision NVR, but the motion detection draw area is not working, I have a quick solution for you.
In this article, I explain how to set up the web browser to make this feature work.
The motion detection draw area issue
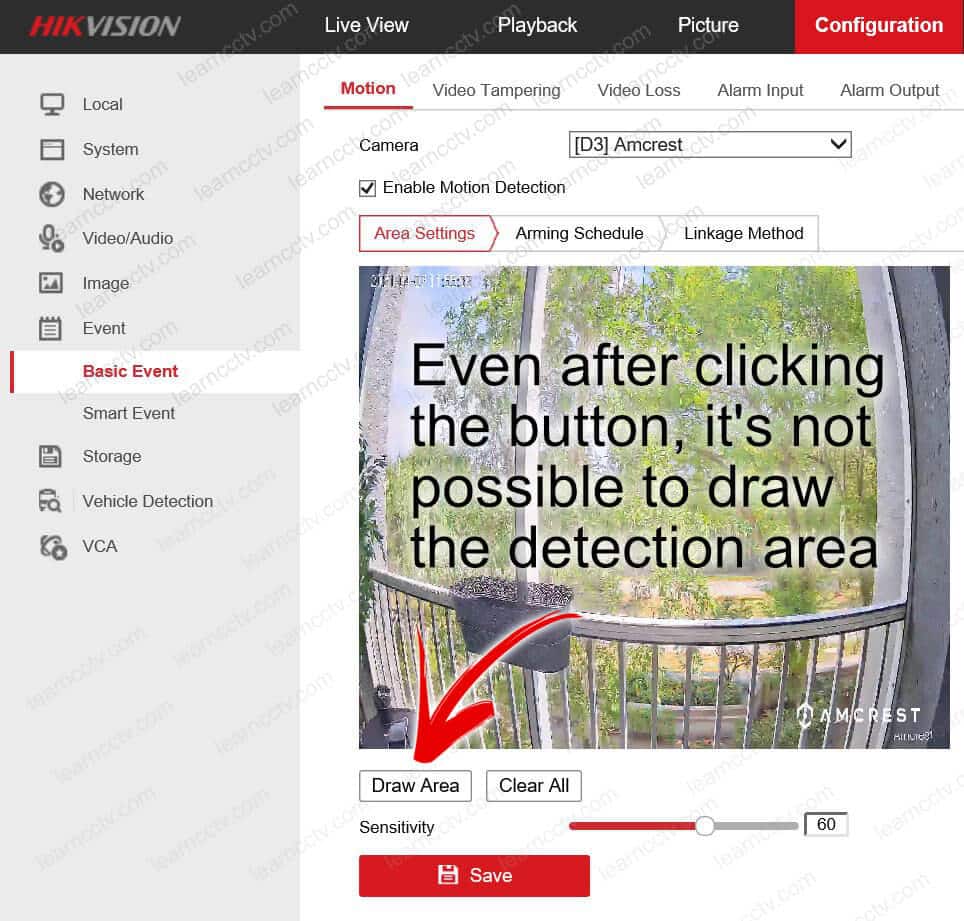
The problem occurs when you select a camera and try to use the mouse to draw an area for motion detection; It simply does not work, and nothing happens.
The picture below shows an example of this problem.

I faced this issue while trying to draw an area on my 4-CH Hikvision NVR.
I could solve the problem by tweaking the Internet Explorer settings.
Let's see how to accomplish that.
How to fix the Hikvision NVR draw area issue
You need to use the Internet Explorer web browser to set up your Hikvision NVR.
Here are the steps to fix the problem.
- Make sure you installed the Hikvision WebVideo Active X control;
- Add the IP cameras to the "Compatibility View Settings";
- Click the checkbox "Enable Motion Detection";
- Click the button "Draw Area";
- Click and hold the mouse left button and drag it to draw the area;
- Click the button "Stop Drawing";
- Save the configuration.
The pictures below show the entire process.
Click the "gear" icon on Internet Explorer and select "Manage add-ons".
Make sure the WebVideo Active X control is installed. If it's not, load the live preview tab and wait for the browser to ask you if you want to install it.
The picture below shows the Active X installed.
The next step is to add the cameras to the "Compatibility View Settings".
Take a look at the pictures below to understand how you can do that.
Click the Internet Explorer gear icon and select Compatibility View Settings.
Enter the camera IP and click "Add".
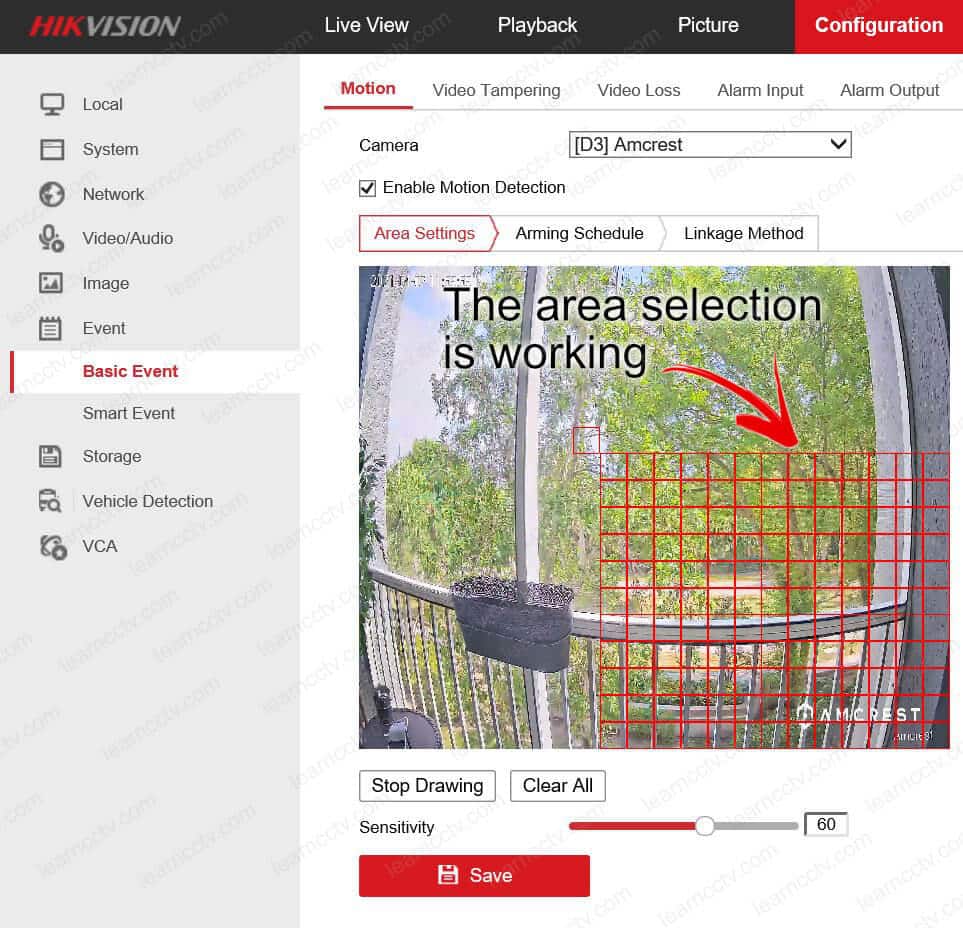
And now, you will be able to draw the motion area in the NVR.
Click the "Draw" button, left-click your mouse and select the area you want.
Now you know how to solve the problem with the Hikvision draw area not working, please share this article with your friends.
