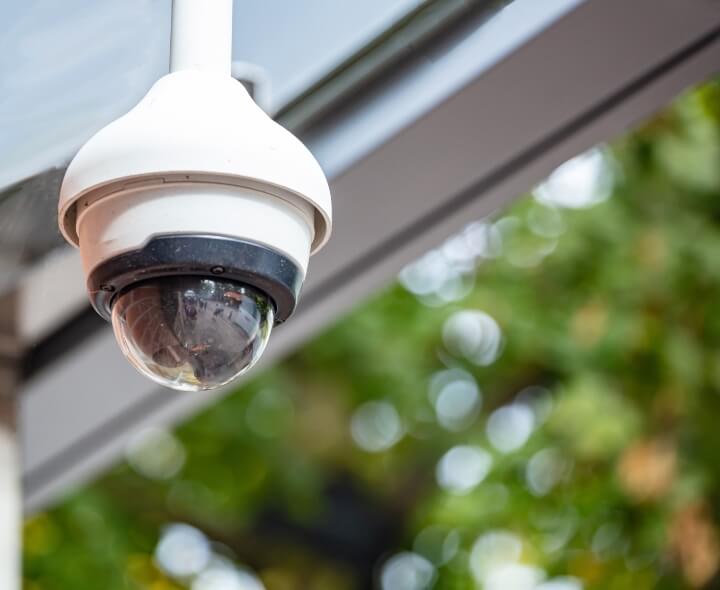
Mountings for cameras allow you to have a quick and easy installation on almost every surface. But how about installing security cameras on vinyl siding?
Type of camera

Keep in mind that you should invest in an outdoor camera, as they are tougher and made to take on some weather and dust. However, this does not mean that they are waterproof.
Meaning, you should install them under the roof, therefore giving them protection from water or installing a protective shield above them.
As well as making sure it is water tights to keep your camera and your wires safe and sound from any damage.
You should also keep in mind that when utilizing a wired camera, the wires will need to be running inside your home.
But on the other hand, wireless cameras that use a battery for power need to be charged and changed every so often.
How to install security cameras on vinyl siding
Before you start drilling, you must first choose the position of your camera and where you will fixate it. Will it be on the second floor?
You should also think whether the camera angle will be blocked by a tree or anything else that may later affect your camera and where its placed.
Choosing a height that cannot be reached without a ladder can also help keep thieves away and make it safer for you.
Especially if you own a wireless camera that can easily be ripped off it's mounting.
After choosing your spot, you want to hold up the mounting and trace the places in which you will need to drill in order to get the mounting screwed in.
Know that behind the vinyl siding, there will be another type of material that makes up your home, such as concrete, brick, wood, or others.
If it is a material such as brick or concrete, a regular drill will not be able to get far enough to safely secure the camera; therefore, you might need a different drill.
The drill
When drilling into the wall, you want to make sure that you choose a powerful drill that gets the job done. A great example of a type of drill you might want to invest in is a hammer drill.
Hammer drills or impact drills not only drill but also thrusts the drill bit back and forth rapidly to give you what you need quickly.
These hammer drills were made to cut into concrete, brick, stone, and much more.
This type of drill will sure do better than the regular ones found in every other garage! They are drilling machines.
And when you are dwelling on how to install security cameras on brick, the hammer drill is the best friend you can rely on.
Installing
Once you found the right drill, you will want to continue to drill until you reach the inside of your home.
Keep in mind that if you are using a wireless camera powered by batteries, you won't need to drill all the way through.
However, if any cables need to run to the inside of the house, whether it is an ethernet cable, power cable, or the connecting cable to the DVR or NVR to store footage, the hole needs to reach the inside of your home.
Once you are ready to mount the security cameras on vinyl siding, match up the holes of the vinyl siding to the ones in the material of your home and screw in the mounting and the camera.
Remember to connect your cables through the inside of your home fist to ensure it is all connected safely before you finish installing the security cameras on vinyl siding.
For more protection, you can caulk up the hole to ensure the wires remain in their place and even protect them from any kind of water damage.
The bottom line
Though it is not very usual, installing security cameras on vinyl siding is totally possible. It can quickly be done by you or a professional.
However, the wires will need to run inside your home. If you cannot install it properly, please contact a professional as they will avoid damages to pipes and rods inside your walls.
Did you DIY your security cameras on vinyl siding installment? Or did you hire a professional? Let us all know below!