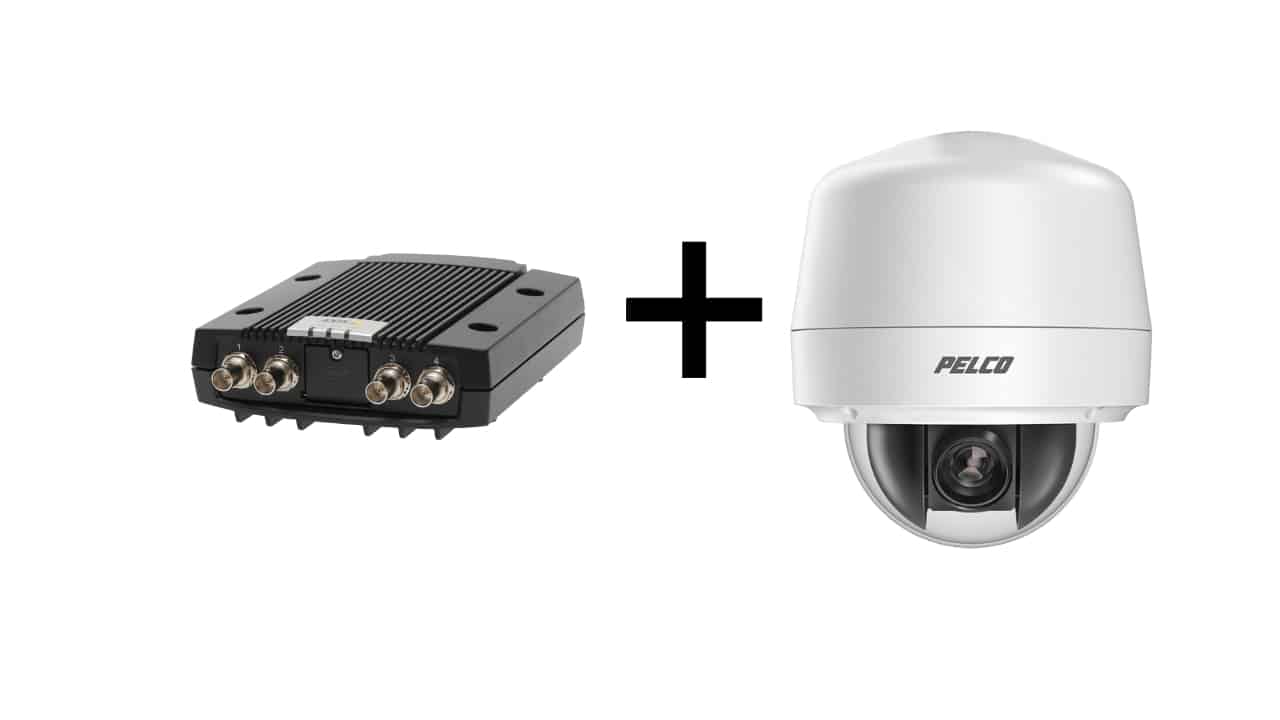
In this article, I show how to connect a Pelco analog PTZ camera to an encoder.

Yes, there are still some good analog cameras out there, and you can keep using them with your new IP surveillance system.
Fundamentals of PTZ cameras and encoders
You have to understand some fundamental things before connecting your analog PTZ camera to an encoder. Let me go over a quick explanation of the topic.
A PTZ camera can move in the horizontal (PAN) and vertical position (TILT) and also zoom in and out to get more details on the subject.
How to control a PTZ camera
Devices such as computers (with monitoring software), DVRs, joysticks, and encoders can send commands to the PTZ camera via coax cables or a pair of wires.
You can use the same coax cable to send video and commands to the camera if the camera and the device you are using have protocols such as Coaxitron (Pelco), CCVC (Hanwha Techwin), or Hik-C (Hikvision).
==> To learn more, read the article: PTZ camera coaxial control
Let's say your device or camera doesn't have such protocols; in that case, you can use a traditional method with a pair of wires to send the commands to the camera.
The diagram shows an example of a PTZ camera connected to a device using a pair of wires. As you can see, there's a connector labeled "RS-485" in the device on the right side; this is an international standard for communication between devices.
The standard protocols
The analog PTZ camera and the device can use the RS-485 standard and a common protocol for communication; the most common one is the Pelco D protocol.
This article focuses on a Pelco analog PTZ camera connected to an Axis encoder; however, the same principle applies to different manufacturers. As long as they use the same RS-485 and communication protocol on both sides, everything works.
The communication parameters
Alright, it's necessary to use the same standard and protocol for communication, but there's something else you need to pay attention to... Which communication parameters are set on both devices (encoder and camera).
It's very simple; you have to make sure the parameter match on both devices.
Here are the parameters I'm talking about.
- Baud rate
- Data bits
- Stop bits
- Parity
You don't need to worry too much about what they mean. Just make sure they are the same in the encoder and PTZ camera.
See the pictures below with an example of a Pelco camera and Axis encoder.
Pelco PTZ camera serial communication parameters
Axis encoder communication parameters
Take a closer look at the parameters. Did you notice they match?
Parameter | Value |
|---|---|
Baud rate | 2400 |
Data bits | 8 |
Stop bits | 1 |
Parity | N (none) |
You can also notice that the camera is set to use the Pelco D protocol with ID 2.
This information is also important since the Axis encoder need to use the same protocol and ID number to send the commands to the correct camera.
If you have more than one camera, just use different IDs (3,4,5,6, etc).
(The picture of the Axis encoder does not show the ID; it's set in a different menu)
How to set up a Pelco PTZ with an Axis encoder
Let's see a practical example of the Axis encoder connected to a Pelco camera.
This is based on the manufactures documentation for these specific devices.
The camera/encoder wiring
The following diagram shows how to wire the devices using the RS-485 standard.
Axis encoder connected to a Pelco PTZ camera (Click to enlarge)
As you can see, you just need to connect the RX/TX from the encoder to the RX+/RX- in the camera. This type of connection varies for different products.
Be aware that this example is for Axis/Pelco and can be different if you are using another encoder or camera. There's no standard for the connectors naming.
Please read the device's manual to understand how to connect the wires.
The camera setup
It's necessary to read the manufacturer's documentation or the label on the camera to understand how to change the dip-switches to adjust the parameters.
Most of the time, you just need to use the camera the way it came from the factory.
If you have more than one unit, it's necessary to change the IDs because each camera has to be uniquely addressed so the encoder can reach it.
The best approach is to turn the camera on and observe the parameters on the screen as soon as it shows the image on the screen.
Write down the information before configuring the Axis encoder.
The camera setup
To configure the Axis encoder to work with the Pelco camera, you just need to enter all the parameters according to the information you got from the OSD.
Open the Encoder menu and click on the COM Port menu.
Check the boxes to enable the port and PTZ and enter the parameters.
Once the COM port is enabled and using the correct parameters, you just need to choose the correct PTZ driver for the camera and set the device ID.
As you can see, the Pelco [4.15] is selected as the driver for this camera.
Axis encoders already come with Pelco drivers pre-installed.
And that's all you have to do.
Test the PTZ control using the encoder's web interface.
Related articles
Conclusion
It's possible to control your analog PTZ camera via a VMS in the network as long as you connect it to an encoder and make the correct wiring and setup.
You just learned how to connect and set up a Pelco and an Axis encoder, but the process is similar for other brands as well.
The example in this article is for a single Pelco PTZ camera connected to an Axis stand-alone encoder. Still, you can add more cameras by using a rack-mounted encoder which allows you to add up to 84 cameras per chassis.
I hope this article can help you; please share it with your friends.
